Getting started with Blockly
5. Create a Blockly workspace
In this section you will learn how to add a workspace to your app, including how to define a toolbox.
Parts of Blockly
A Blockly workspace has two main components:
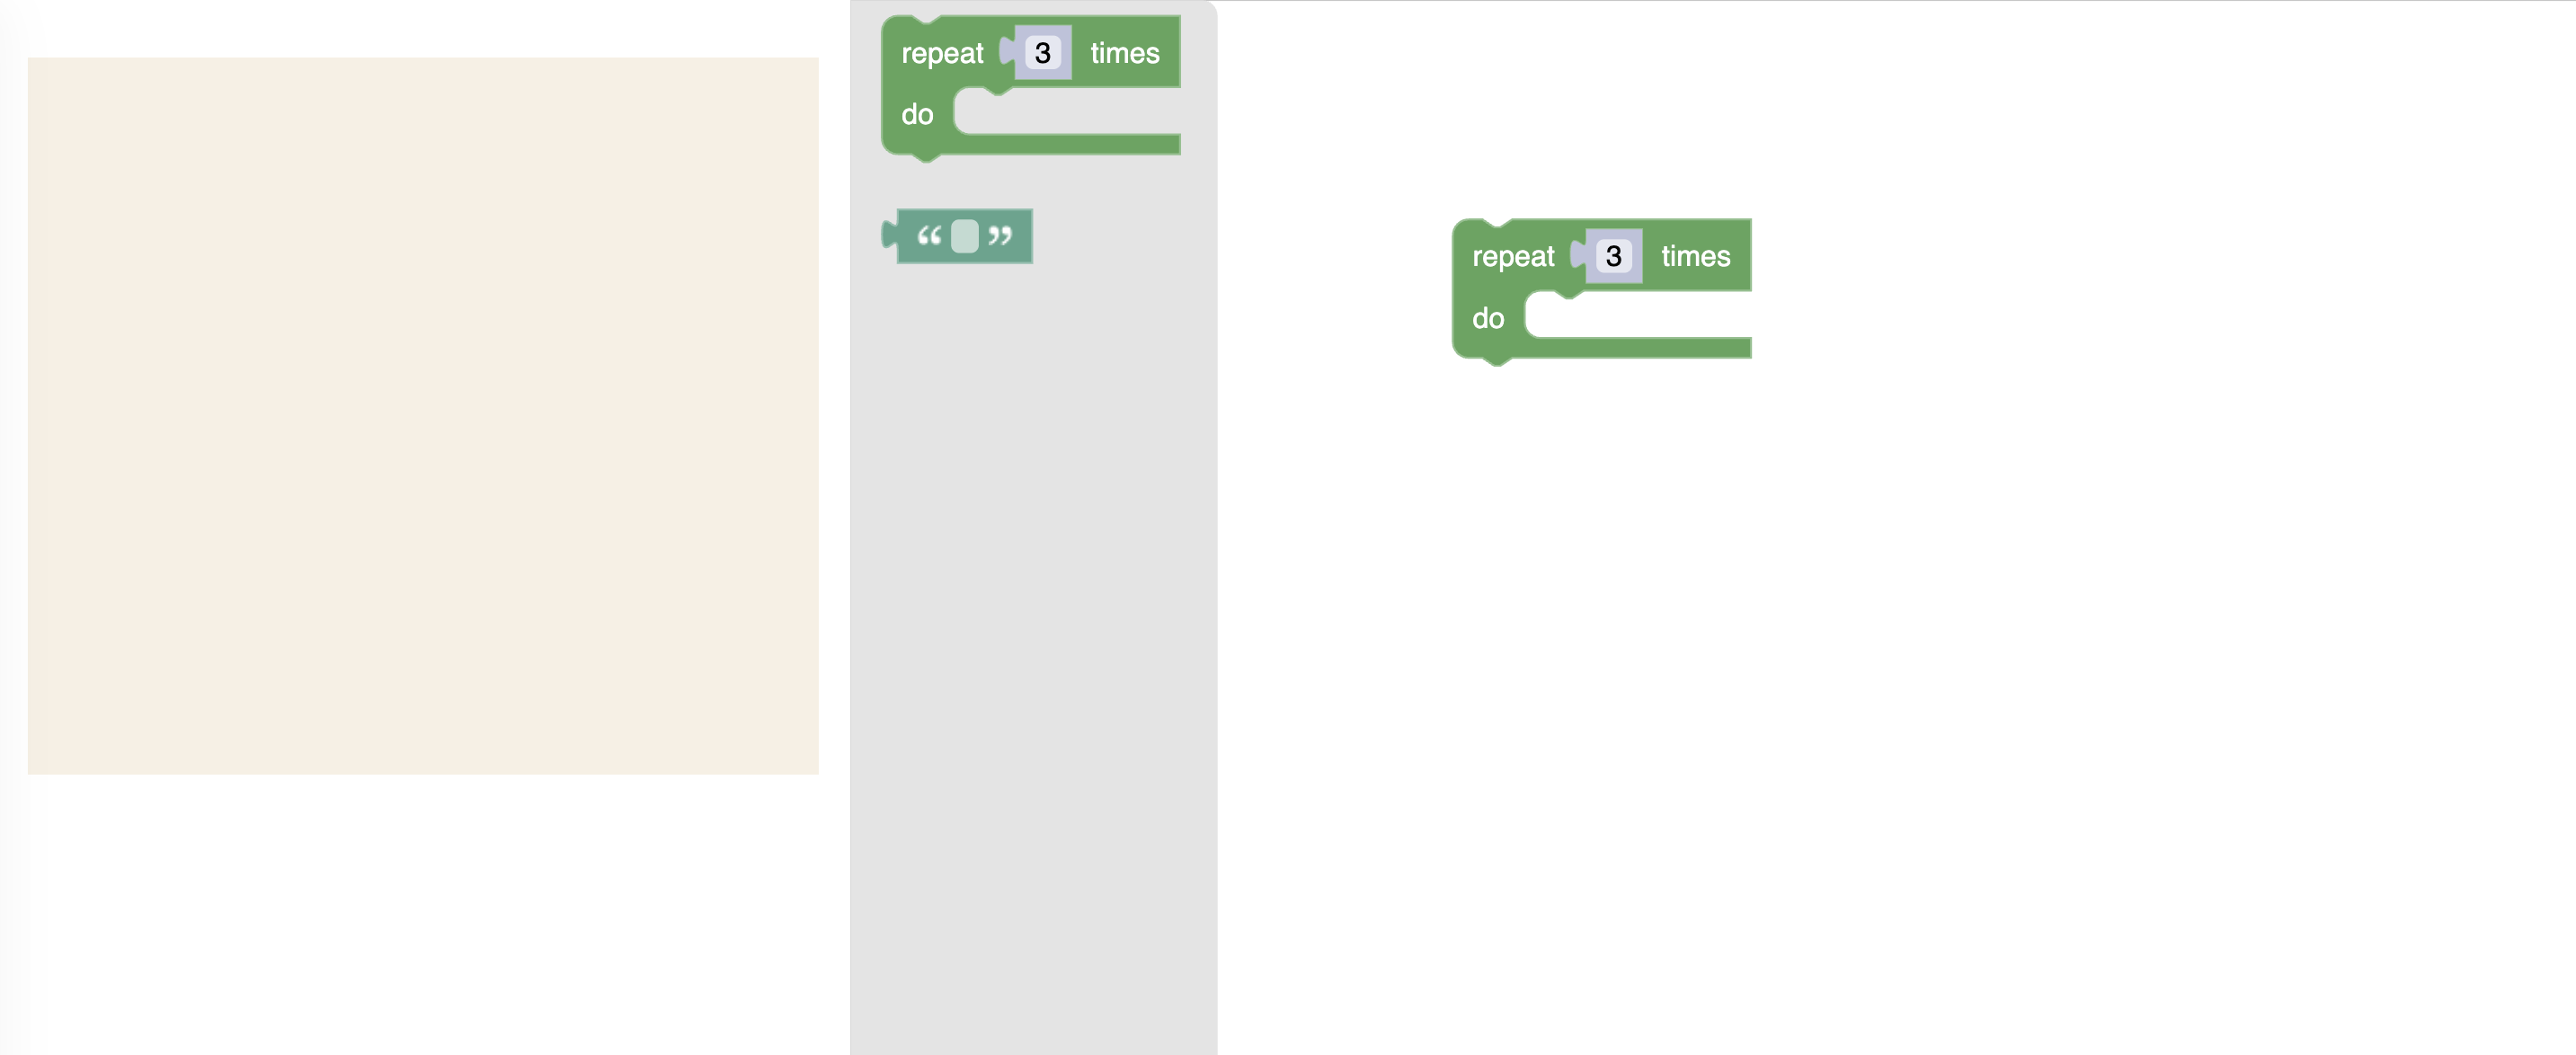
- A toolbox that contains all blocks that are available to the user (the grey area on the left).
- The area where the user assembles their blocks (the white area on the right).
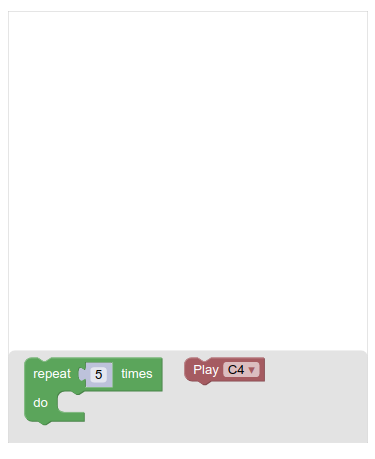
Users can drag blocks out of the toolbox and into their workspace to assemble a program.
The toolbox may be organized into categories (a category toolbox) or have all blocks visible at all times (a flyout toolbox). Toolboxes may contain both single blocks or groups of blocks. A well-organized toolbox helps the user to explore the available blocks and understand the capabilities of the underlying system.
A toolbox is defined as a JavaScript object and passed into the workspace constructor through an options struct.
For more information on this JSON format and toolbox configuration, including category creation, please see our toolbox documentation. If you'd like to customize the appearance of your toolbox, you can consult the toolbox customization codelab.
Define the toolbox
Find the file in your src/ folder called toolbox.js. This is where you'll define your toolbox using the JSON format.
Add the following toolbox definition to toolbox.js:
export const toolbox = {
  kind: 'flyoutToolbox',
  contents: [
    {
      kind: 'block',
      type: 'controls_repeat_ext',
      inputs: {
        TIMES: {
          shadow: {
            type: 'math_number',
            fields: {
              NUM: 3,
            },
          },
        },
      },
    },
    {
      kind: 'block',
      type: 'text',
    },
  ]
};
This JavaScript object defines a flyout toolbox with a loop block and a text block.
Injection
Adding a Blockly workspace to a page is called injection, because the workspace is injected into a div that already exists on the page.
To do this you call the function Blockly.inject(container, options), which takes two arguments:
containeris where the Blockly workspace should be placed on the page. It can be anElement, an ID string, or a CSS selector.optionsis a dictionary of configuration options.
For this codelab we will inject into a div with the id "blocklyDiv", which was already created in index.html.
<div id="blocklyDiv"></div>
Create the workspace
Now, in src/index.js, import the toolbox you just created.
Then, set up variables for each major div in index.html so that you can later reference these UI elements.
Finally, you'll inject Blockly using the toolbox you just created.
Copy and paste the full code into your index.js:
import * as Blockly from 'blockly';
import {toolbox} from './toolbox';
import './index.css'

// Set up UI elements and inject Blockly
const codeDiv = document.getElementById('generatedCode').firstChild;
const outputDiv = document.getElementById('output');
const blocklyDiv = document.getElementById('blocklyDiv');

const ws = Blockly.inject(blocklyDiv, {toolbox});
Blockly.inject allows you to specify some options regarding what your workspace and toolbox look like.
In this case, the only configuration option you selected was toolbox which lets you add a toolbox definition to your instance of Blockly.
The options struct offers many additional options which give you significant control over your Blockly's instance.
For example:
scrollbars: Whether to show scrollbars in the workspace. If a toolbox is a flyout toolbox (like the one you just defined),scrollbarsdefaults tofalse.horizontalLayout: Whether to display the toolbox horizontally (true) or vertically (false) in the workspace. Defaults tofalse/vertical.toolboxPosition: Controls the position of the toolbox in the workspace. It defaults to the left side if the layout is vertical.maxBlocks: The maximum number of blocks that may be created in the workspace.
There are more options available which can change the appearance or behavior of Blockly. For a list of all the available options, see the configuration documentation.
Check your work
Make sure that all the files you've added code to (index.html, toolbox.js, and index.js) are saved. You may also need to refresh your localhost page.
You should now see your Blockly workspace. Click on one of the blocks in the toolbox and drag it into the workspace, then let go. You've just added your first block to the workspace!
Blockly is keyboard navigable. Check out the keyboard navigation guide, then try to add another block without using your mouse.