Getting started with Blockly
6. Create a custom block
Blockly provides various blocks for math, strings, loops, and more. But the real power of a Blockly application comes from your custom blocks. You can define blocks that are related to your application, such as one that plays a song, makes a robot move on the screen, or reports the temperature from a connected sensor.
In Blockly, a block definition describes how a block looks and behaves. This includes its text, colour, and shape. It may also include which other blocks it can connect to.
Blocks can be defined in either JavaScript or JSON. The developer site has a full article on how to define a block. There are also opinionated guides on topics such as block design and block appearance that reflect recommended best practices when creating blocks.
In this codelab we will provide a custom block definition for you to copy and use.
Define the add_text block
Imagine you want to build a block that adds text to the output div of this workspace. You'll start with the block definition and then add the ability to generate JavaScript code with that block.
Find the text.js file in src/blocks/. Here you'll specify your block definition. Add the following code to text.js:
import * as Blockly from 'blockly/core';

// Create a custom block called 'add_text' that adds
// text to the output div on the sample app.
const addText = {
  type: 'add_text',
  message0: 'Add text %1',
  args0: [
    {
      type: 'input_value',
      name: 'TEXT',
      check: 'String',
    },
  ],
  previousStatement: null,
  nextStatement: null,
  colour: 160,
  tooltip: '',
  helpUrl: '',
};
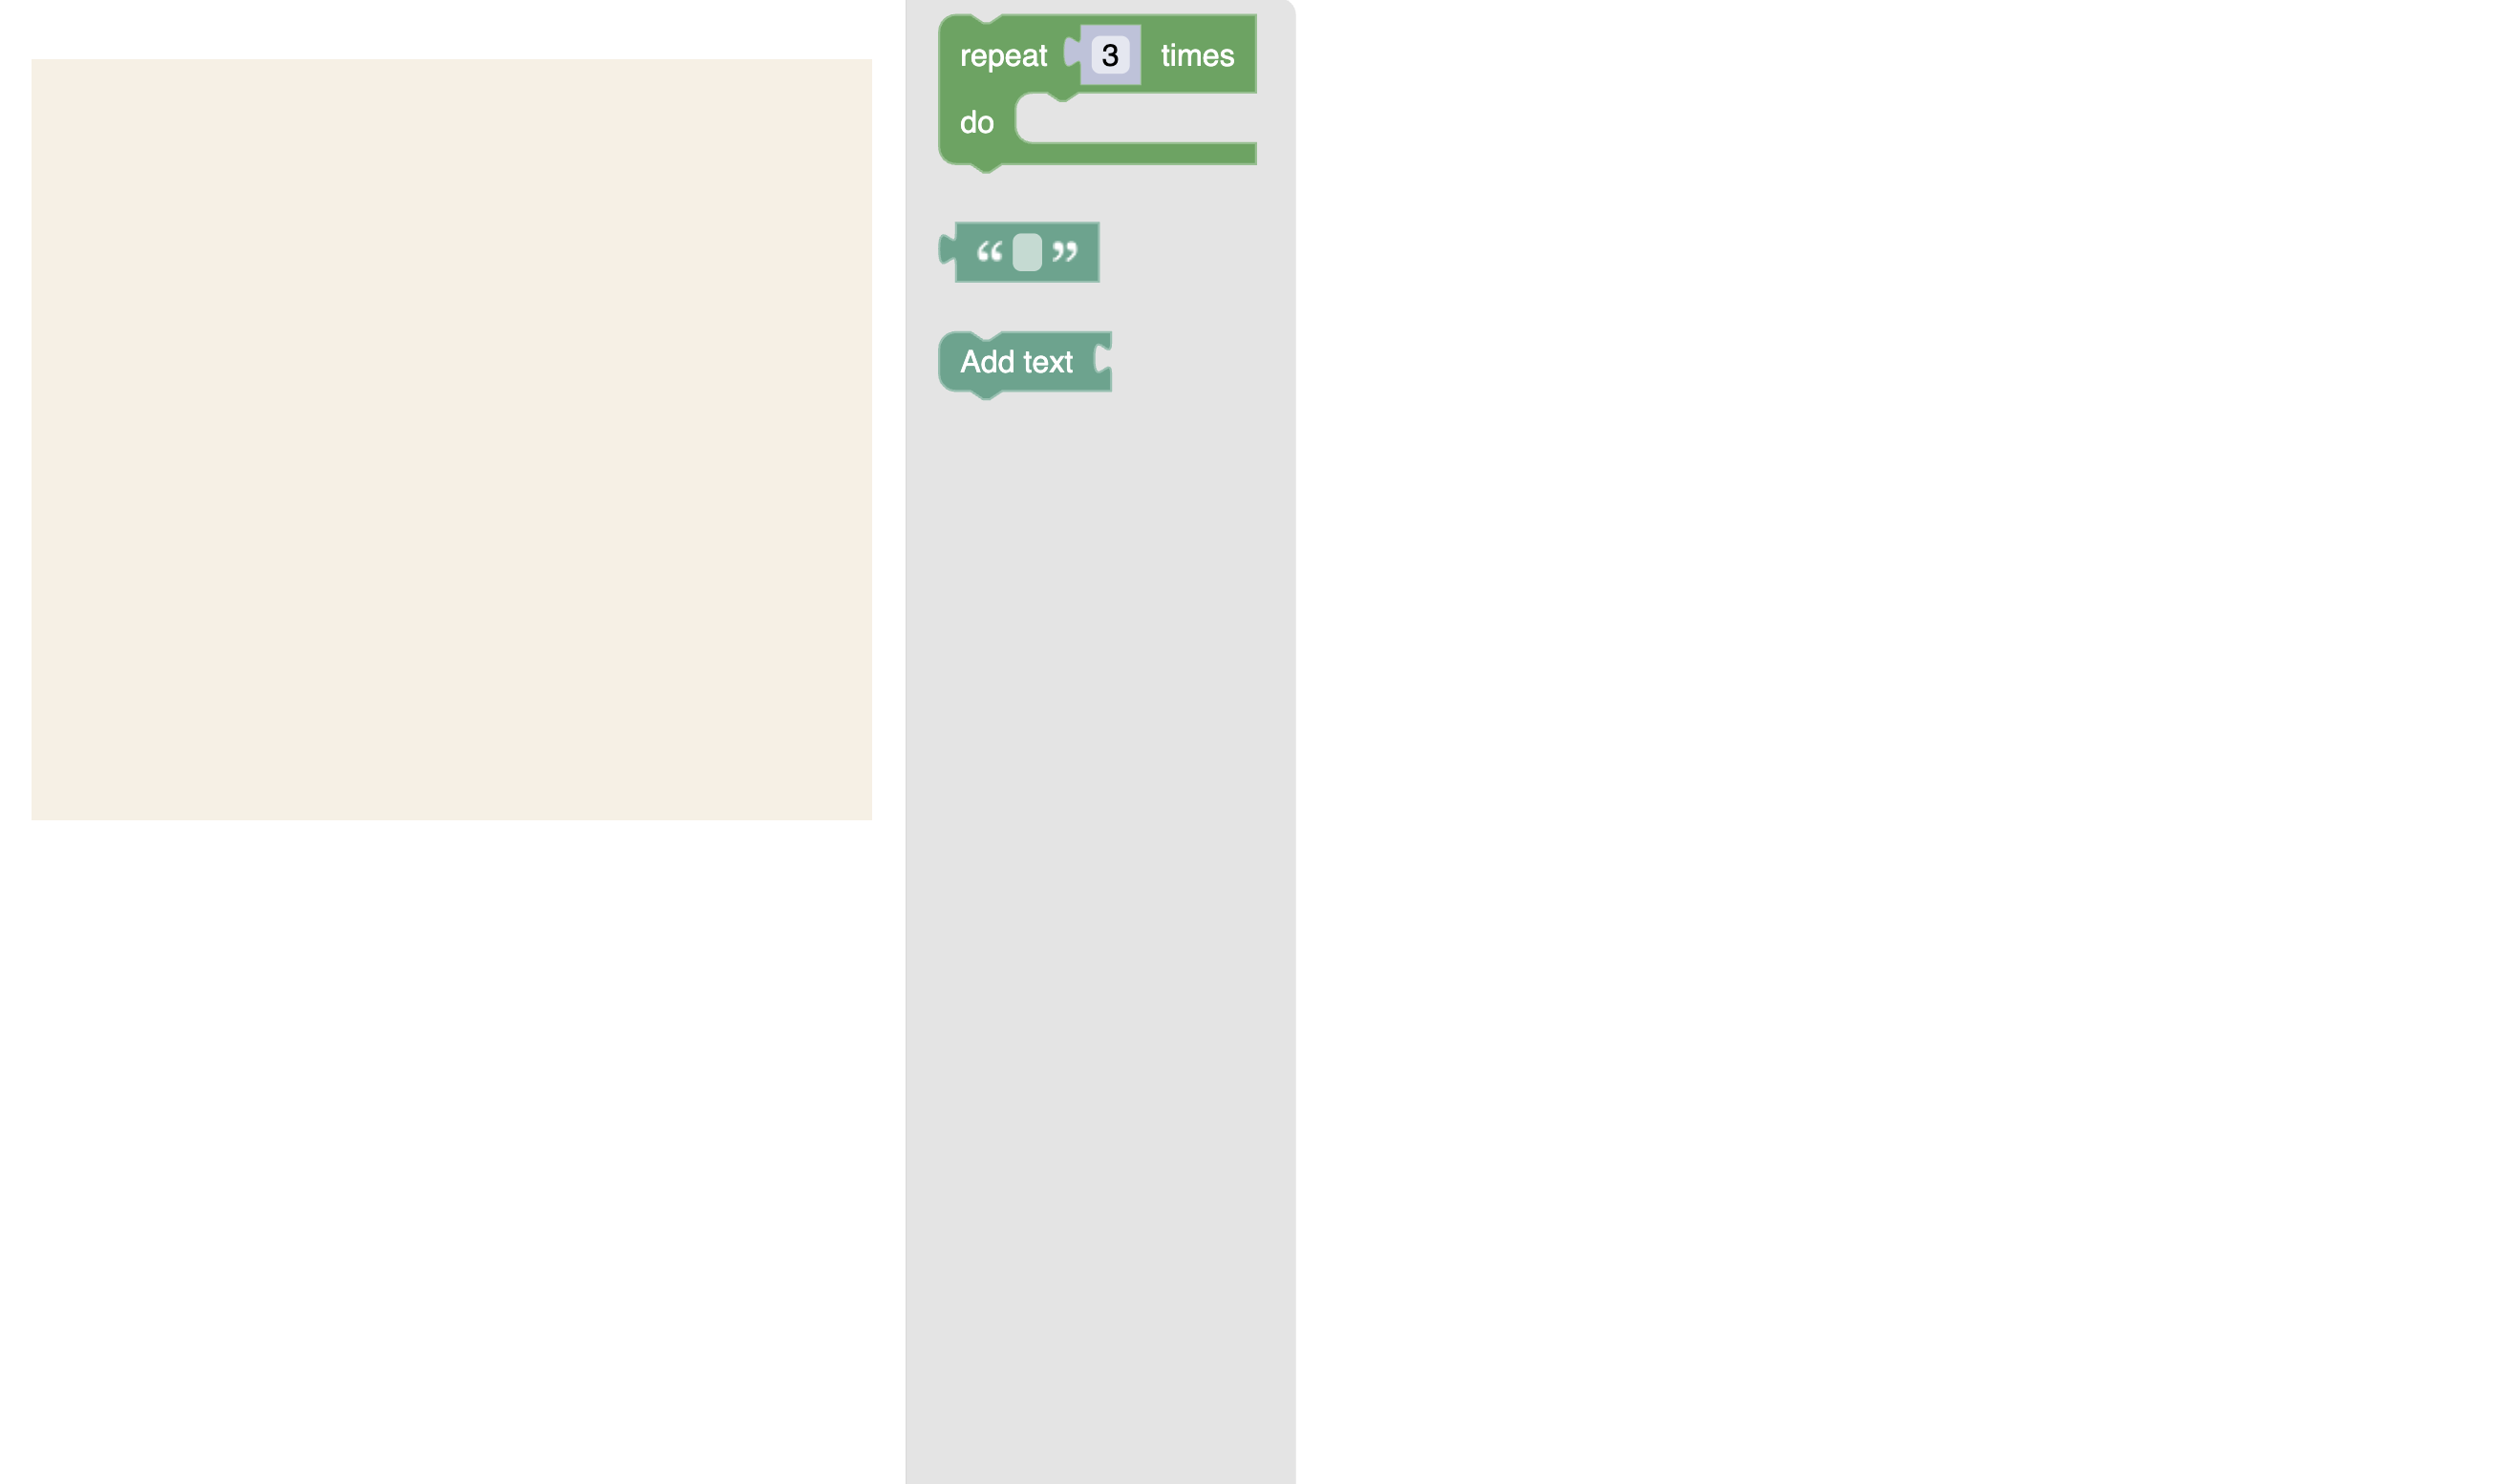
This block definition defines a block called add_text that has one string value input called TEXT. There is a message on the block that says "Add text" before the input.
The add_text block also has a previous connection and a next connection, allowing it to be stacked vertically.
The page on Block structure in JSON is a good resource for understanding the parts of a JSON block definition.
Create Block Definition
After declaring the JSON definition for the block, we'll need to turn it into the full block definition that Blockly can register later.
To do that, call createBlockDefinitionsFromJsonArray which turns the raw JSON object into the JavaScript block definition that Blockly will use.
Then, we save that definition as an object called blocks which we will use in the next steps.
Add the following code to the end of text.js, after your addText object.
// Create the block definitions for the JSON-only blocks.
// This does not register their definitions with Blockly.
// This file has no side effects!
export const blocks = Blockly.common.createBlockDefinitionsFromJsonArray([
  addText,
]);
Register the custom block
The block is set up, now you need to register it. Add the following import statement and code to the top of the index.js file:
import {blocks} from './blocks/text';
Just after the import statements, insert the following code in index.js.
This code uses the block definition that we just saved in order to add the custom add_text block to the list of available blocks:
Blockly.common.defineBlocks(blocks);
Add the custom block to the toolbox
Now you can update the toolbox to include the new block, by adding {'kind': 'block', 'type': 'add_text'} to the toolbox definition. The full toolbox should now be:
export const toolbox = {
  kind: 'flyoutToolbox',
  contents: [
    {
      kind: 'block',
      type: 'controls_repeat_ext',
      inputs: {
        TIMES: {
          shadow: {
            type: 'math_number',
            fields: {
              NUM: 3,
            },
          },
        },
      },
    },
    {
      kind: 'block',
      type: 'text',
    },
    {
      kind: 'block',
      type: 'add_text',
    },
  ]
};
Again, ensure that your files are saved, then check your localhost Blockly page. You should now see your custom add_text block in your toolbox!
The block factory
This step discussed how to manually define custom blocks in Blockly. Once you've completed the entire codelab, we recommend that you check out our block factory tool, which helps automate part of this process.